It is Easter and to celebrate I am going to draw an icon of the holiday, the Easter Bunny. Not only am I going to draw rabbits, I am also showing you how to draw their cousins, hares. This How To Draw will help you tell them apart in both appearence and behaviour. This might be the cutest set of sketches I've ever drawn!
 |
| Stage One |
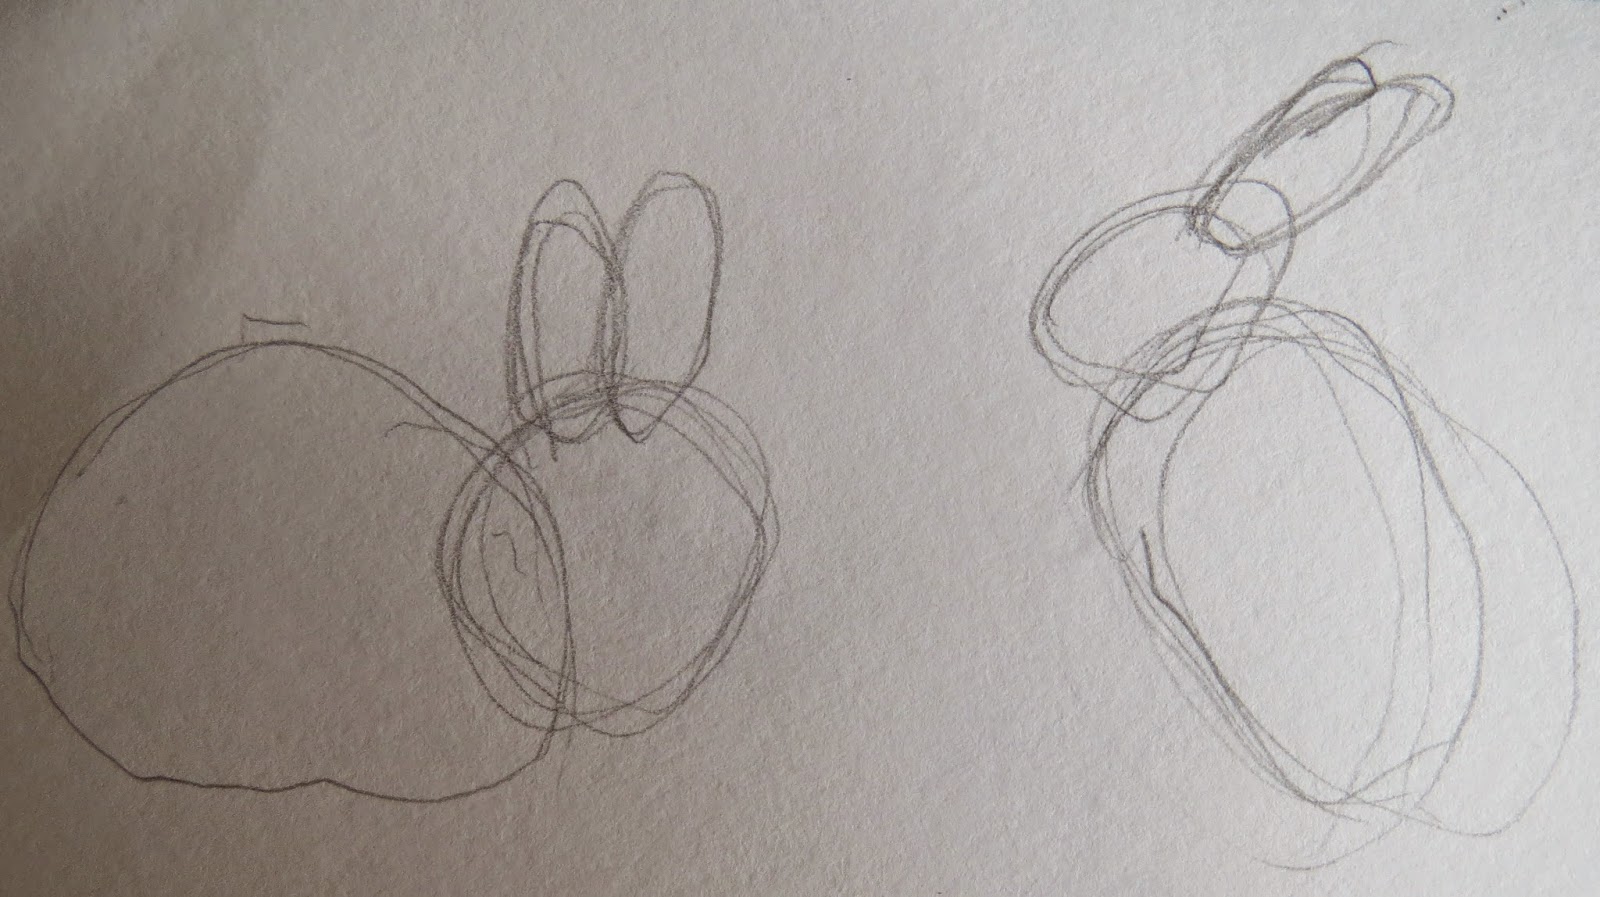
Lets start with drawing a rabbit and a hare together for ID purposes. On the left is my rabbit and on my right a hare. Well, at least they will be once I have finished with them. For the rabbit, draw a large oval for the body, a circle for the head and two rabbit ears on top. For the hare, draw a more upright oval, a small oval for the head and two rabbit ears that are longer and pointed slightly.
 |
| Stage Two |
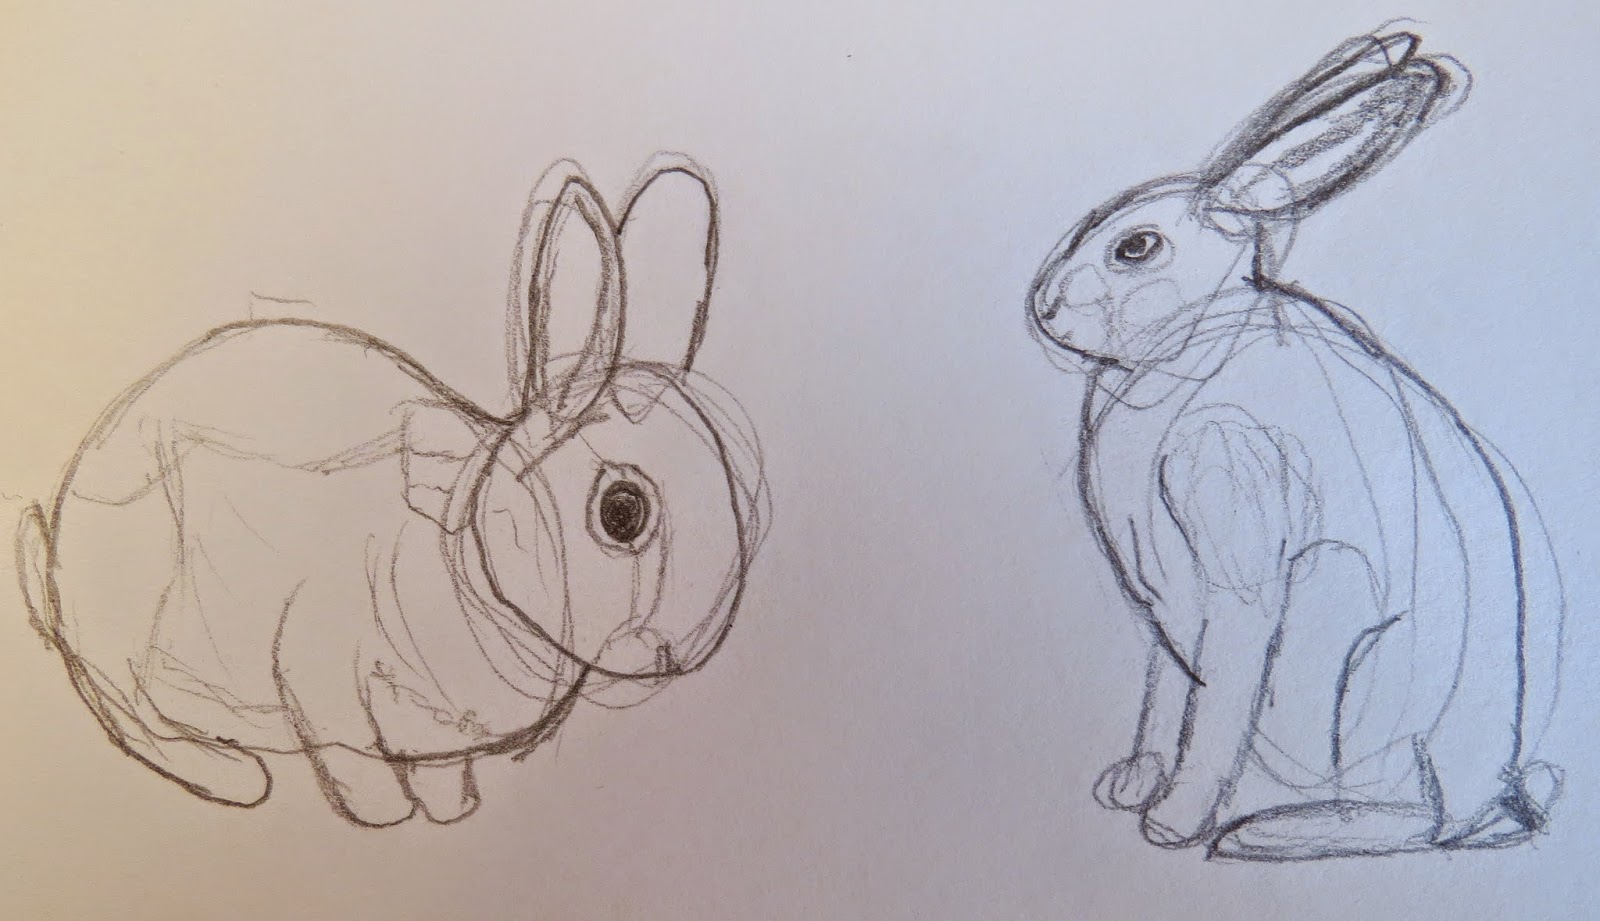
Next, I redefine the body shape a little, adding features like legs, tails, eyes and ear lobes. Legs are shorter on a rabbit and longer on a hare (more so on the front legs). The eyes on a rabbit are larger, while a hares have slightly smaller ones (when it comes to drawing them that is). I also devide the body to show where the light and darker patches of fur needs to be.
 |
| Stage Three |
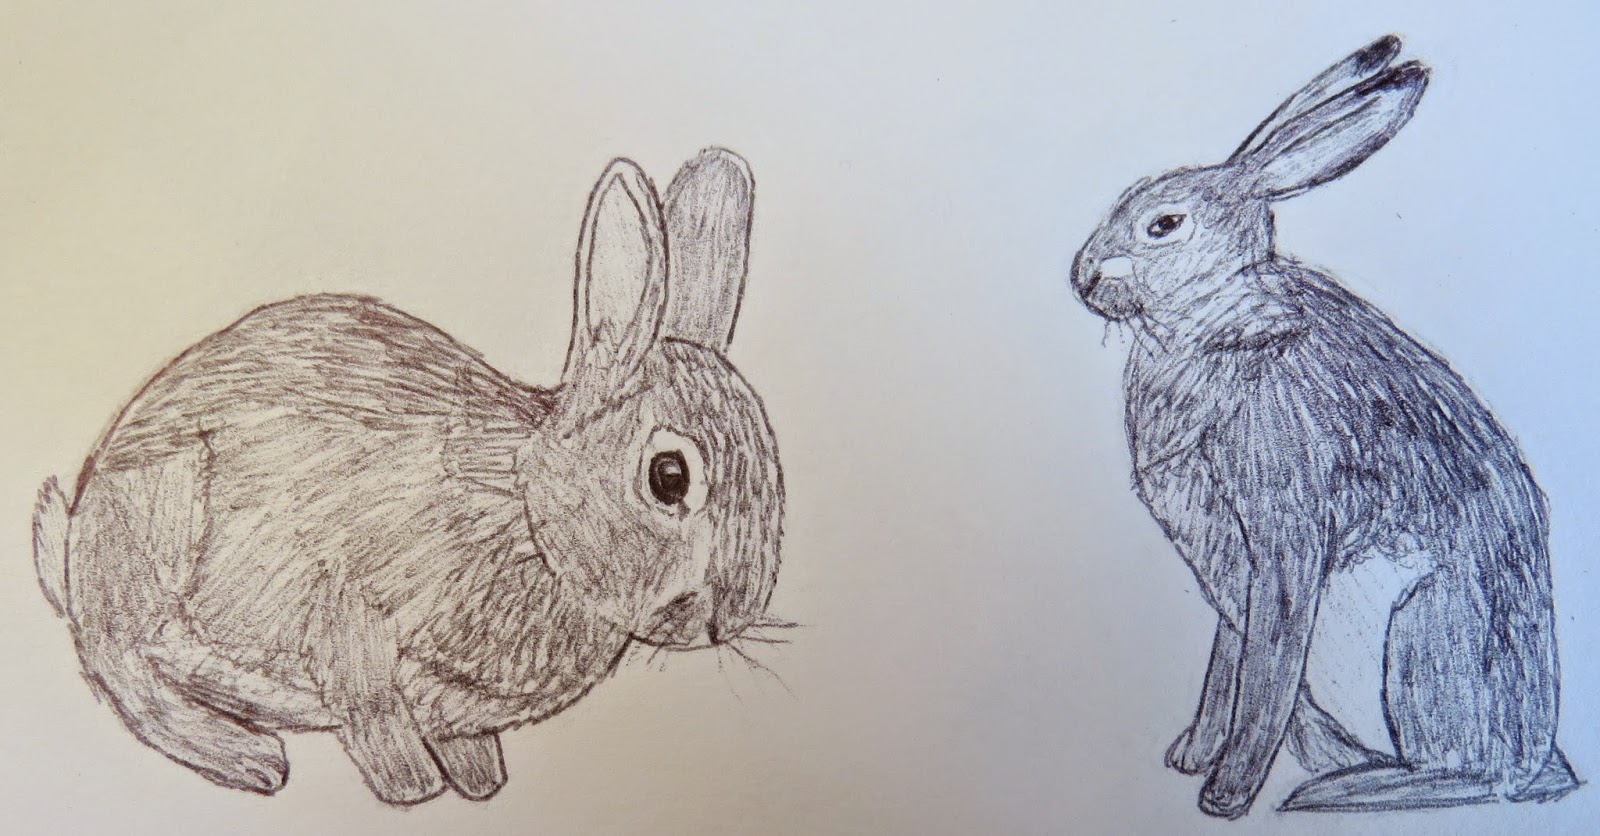
When it comes to drawing in pen, work on each section of their bodies more than the outline. Thanks to deviding the body up earlier, I create fur in different densities. For this, I layer lots of short lined strokes to look like individual strands of fur. The heavier densities of fur needs the lines made by your pen to be close together and slightly heavier marks. Less densities of fur needs to be done lightly.You can make the outlines look like fur too. Be careful around the eyes and the inner ears, these areas need to kept as light as possible.
 |
| Stage Four |
The colour scheme is mostly a light brown undercoat and then orange for the hare and the rabbit. For the rabbit, the feet and nape is more orange than the rest of it's body with a layer of grey over the fur. Colour the denser areas in a darker shade and lighter areas kept almost white or pale. For the hare, the fur is much more golden than a rabbit, but the same rules apply to light and dark areas of fur. And that is how to draw a rabbit and a hare.
My next sketch shows two hares boxing. Mad March hares is a favourite sign of spring for some people. This scene of hares boxing each other and leaping around is actually a female fending off a group of rather frisky males. They will keep chasing her until the fittest remaining shows he is worthy enough to mate with her. And you can see this at any time of year, not just spring.
 |
| Stage One |
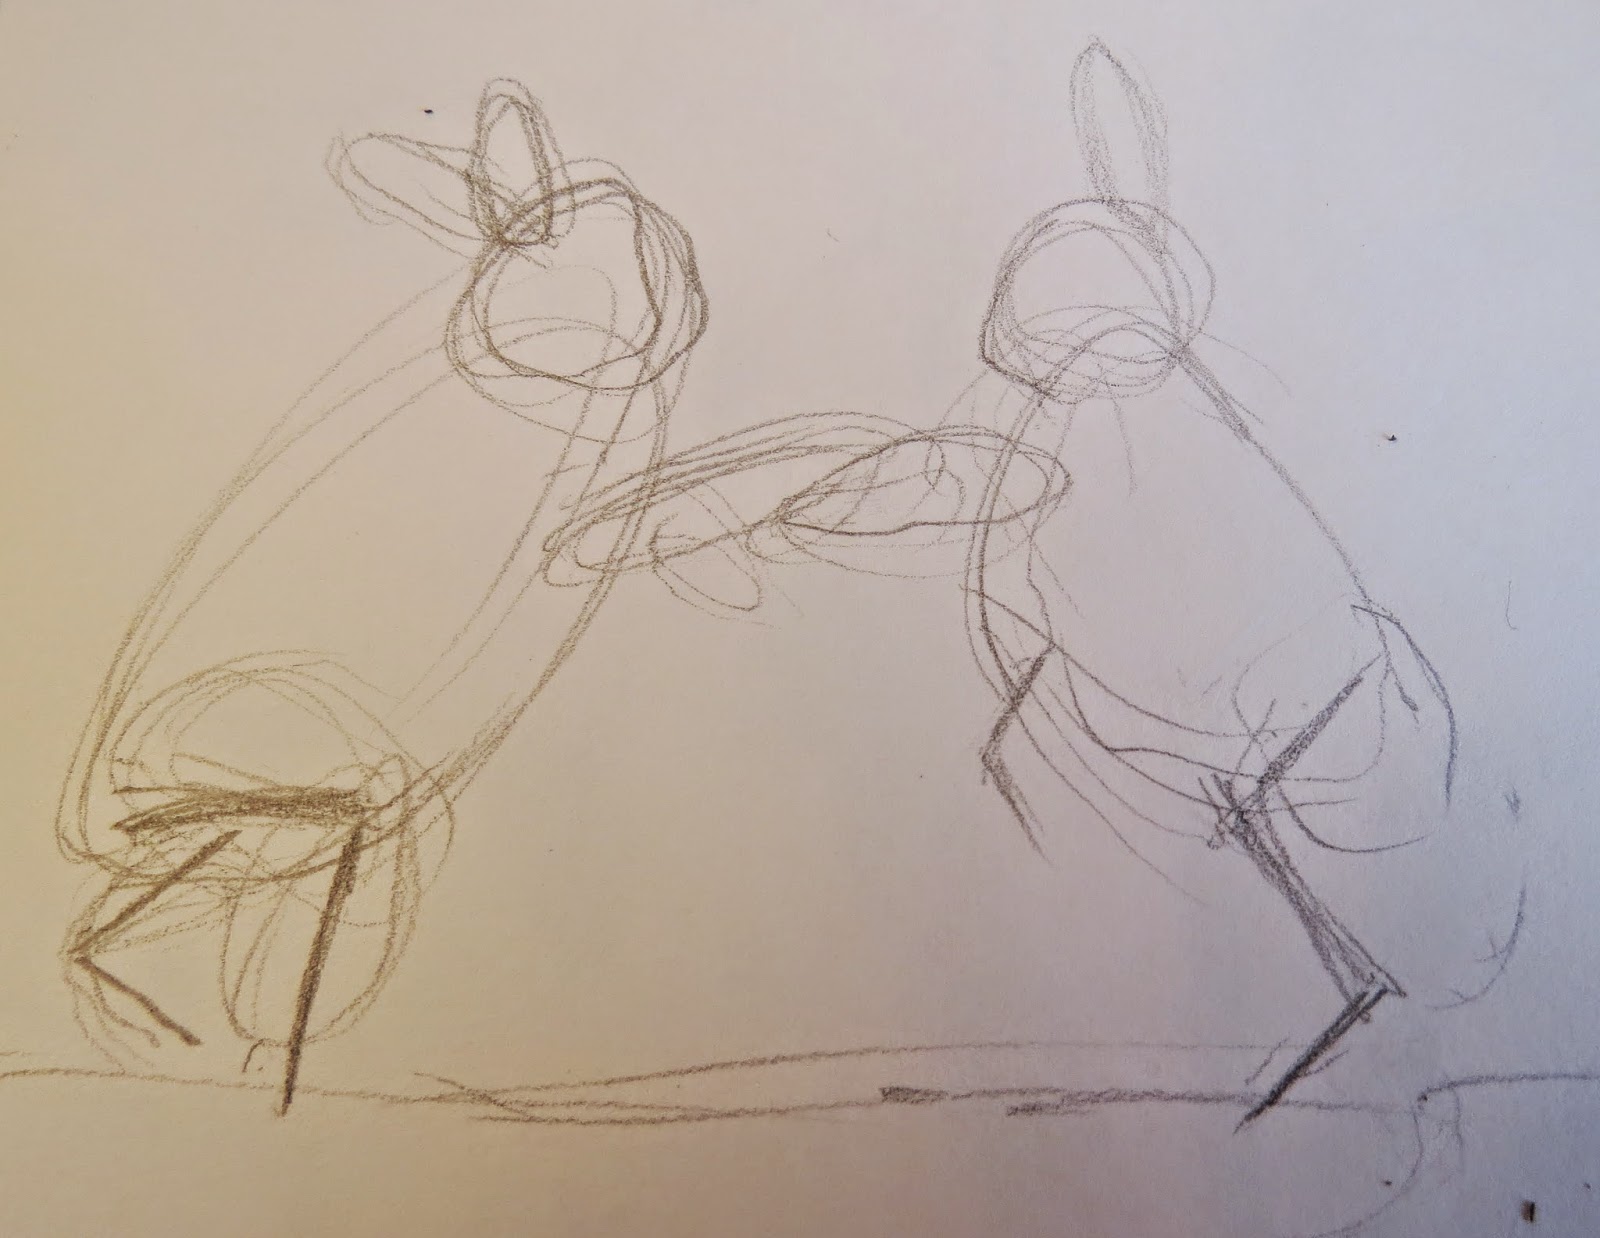
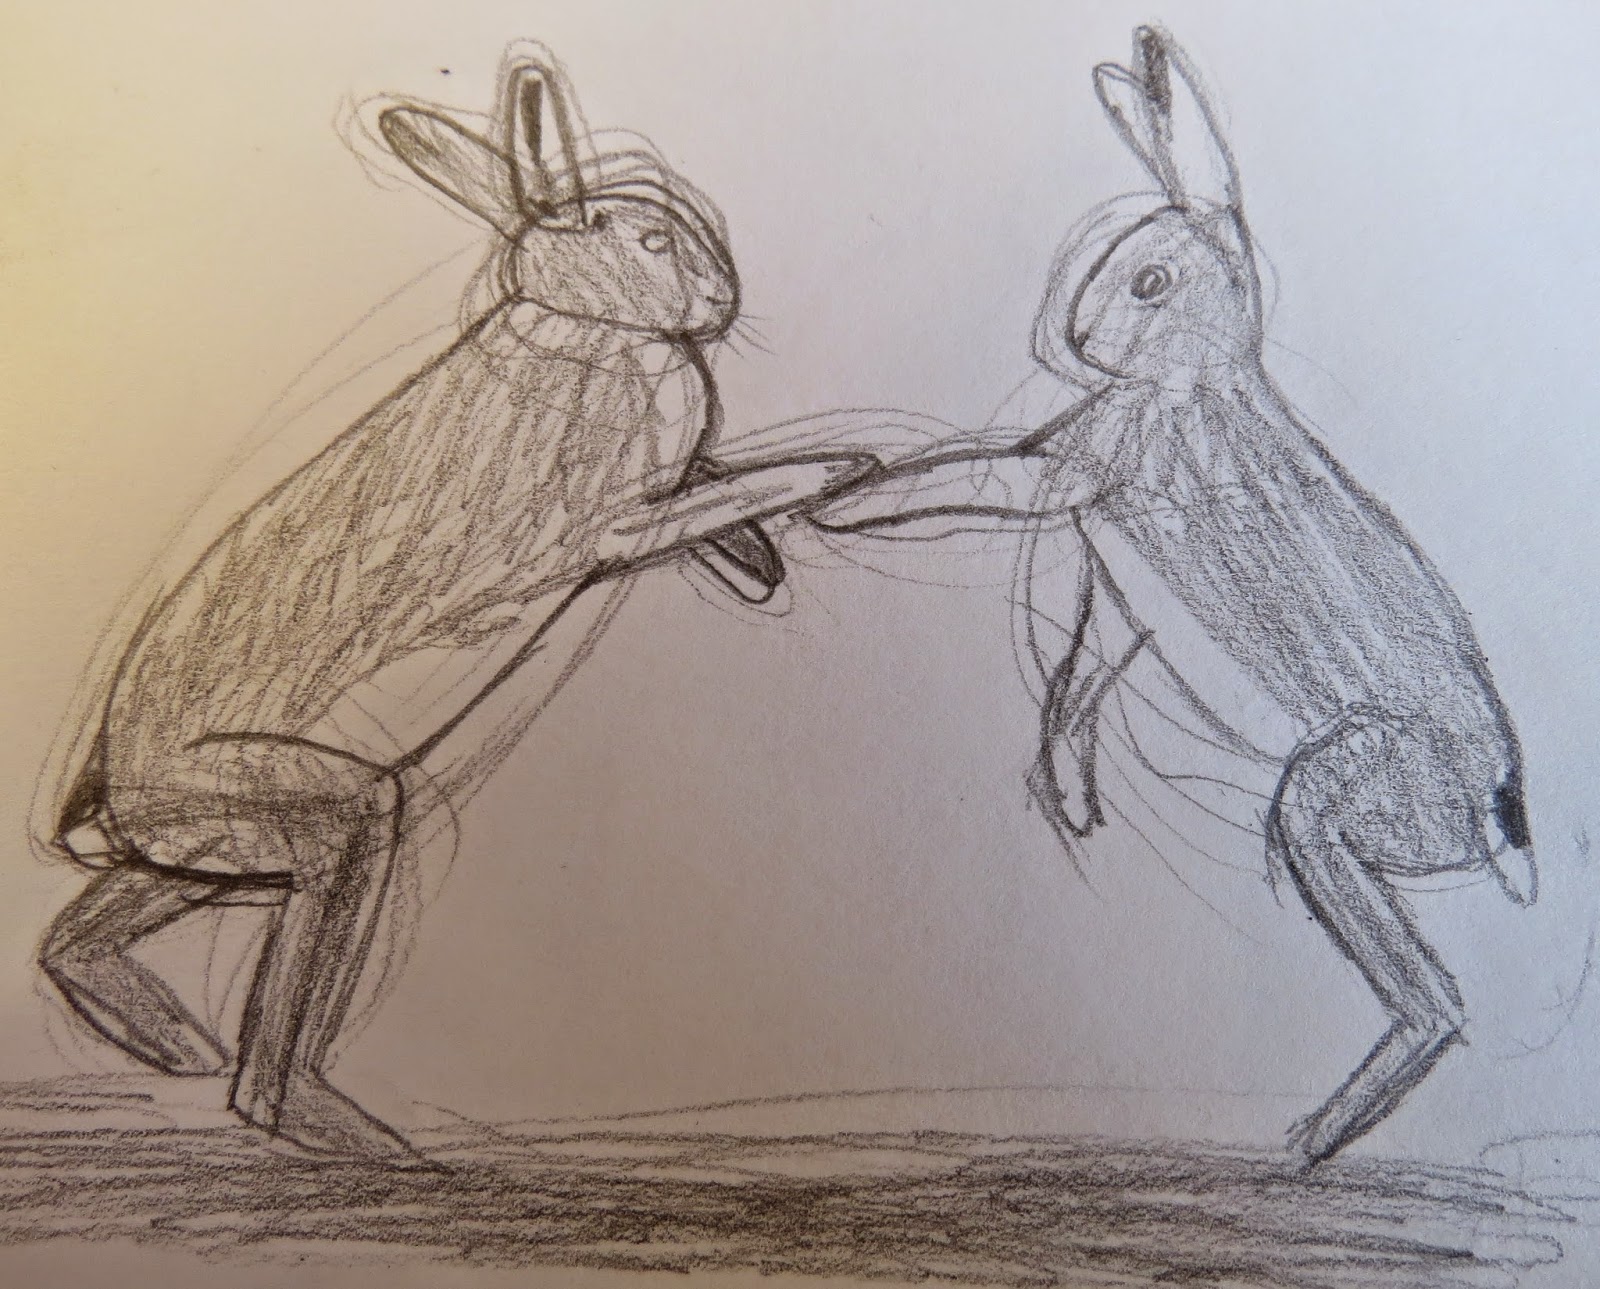
To draw these two boxing each other, I start with the basic hare structure as I started last time. Except this time I have added the legs, drawing simple lines and sausage shapes into the positions I want them. Same goes with the ears. To make sure I get both hares level, I draw the ground which is a simple line.
 |
| Stage Two |
Now I use some detail, just simple scribbling to get the structure of their bodies into the shapes I wanted, using the basic shapes I drew previously as a guideline. You can adjust parts of your drawing that look too big or small at this stage, to get it to your liking.
 |
| Stage Three |
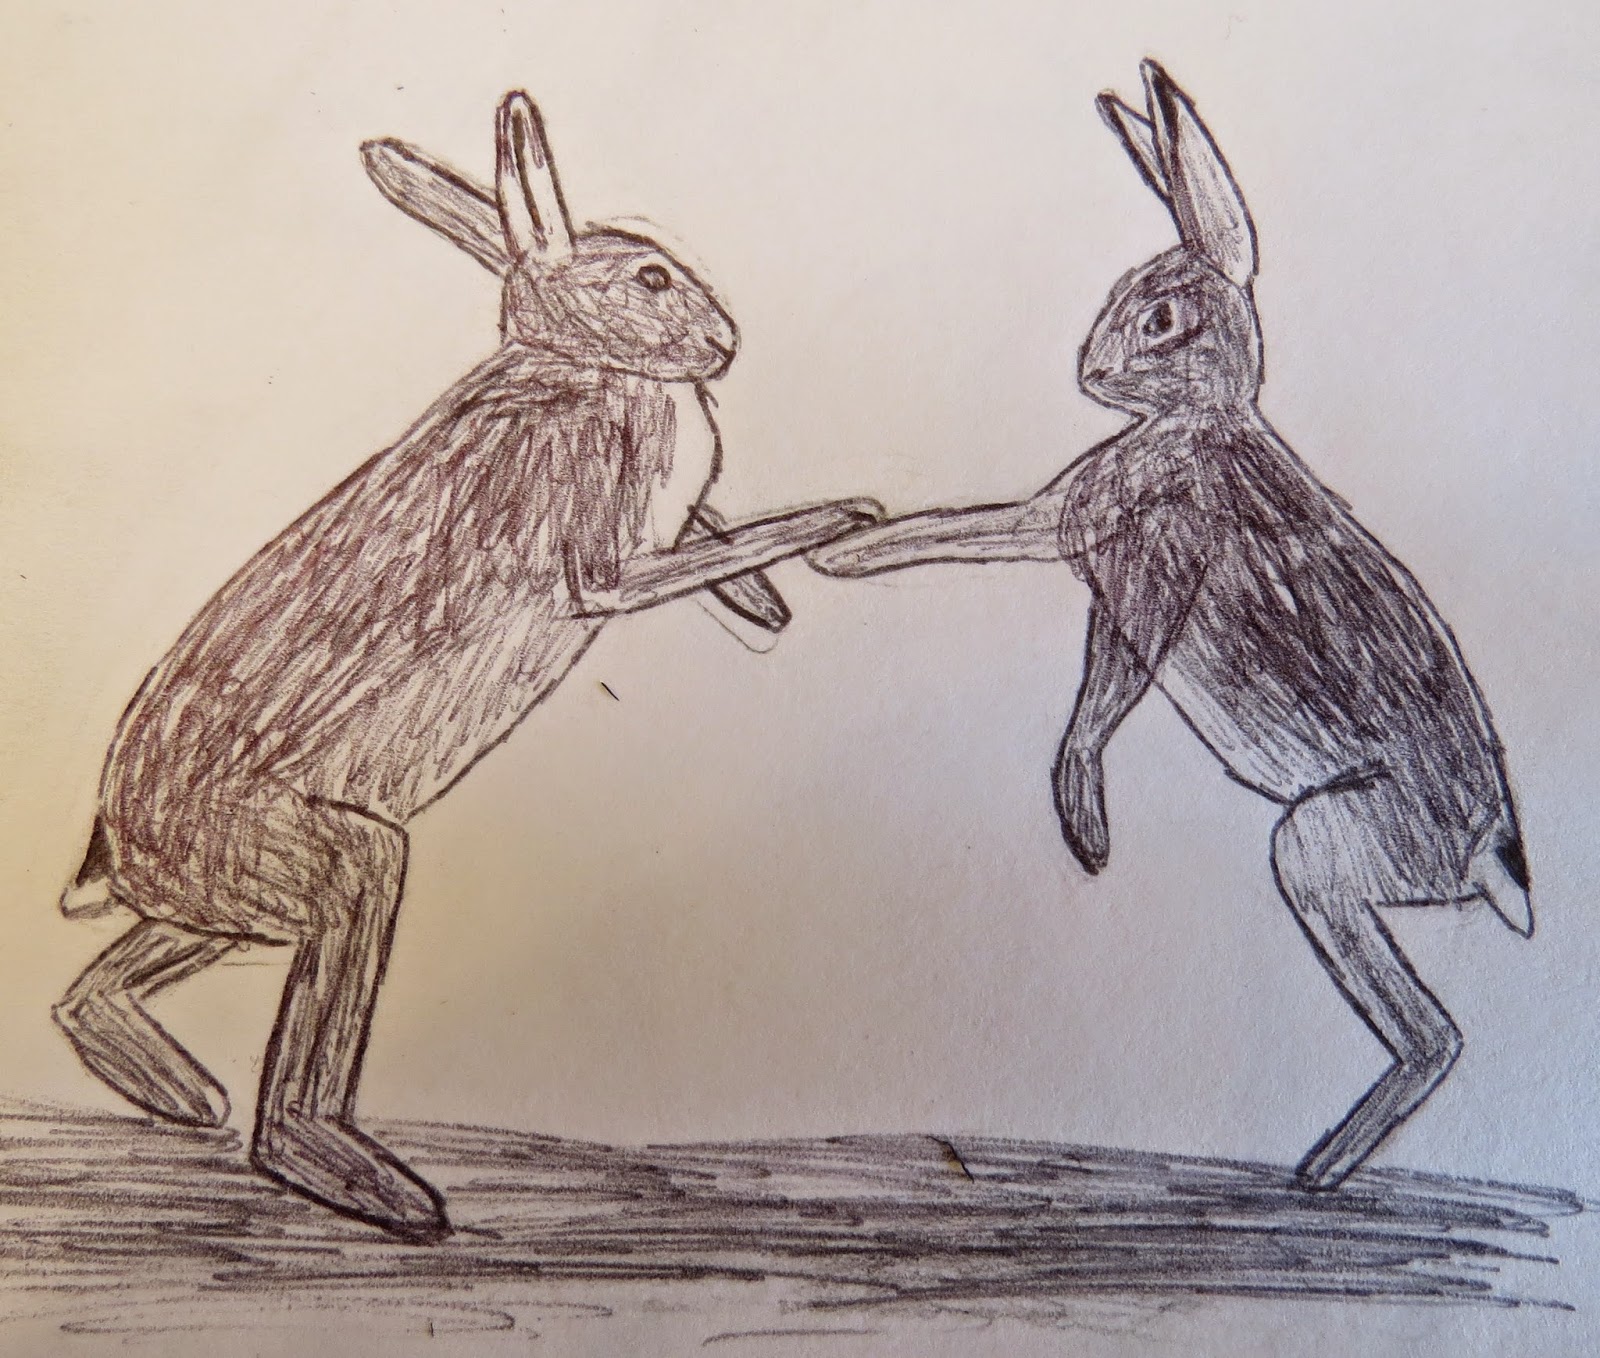
Just like my first sketch of the hare, when it comes to drawing in pen, scribble on dark and light patches of fur while working on the outline as you go. It helps bring the textures to life. Don't forget to rub the pencil markings out.
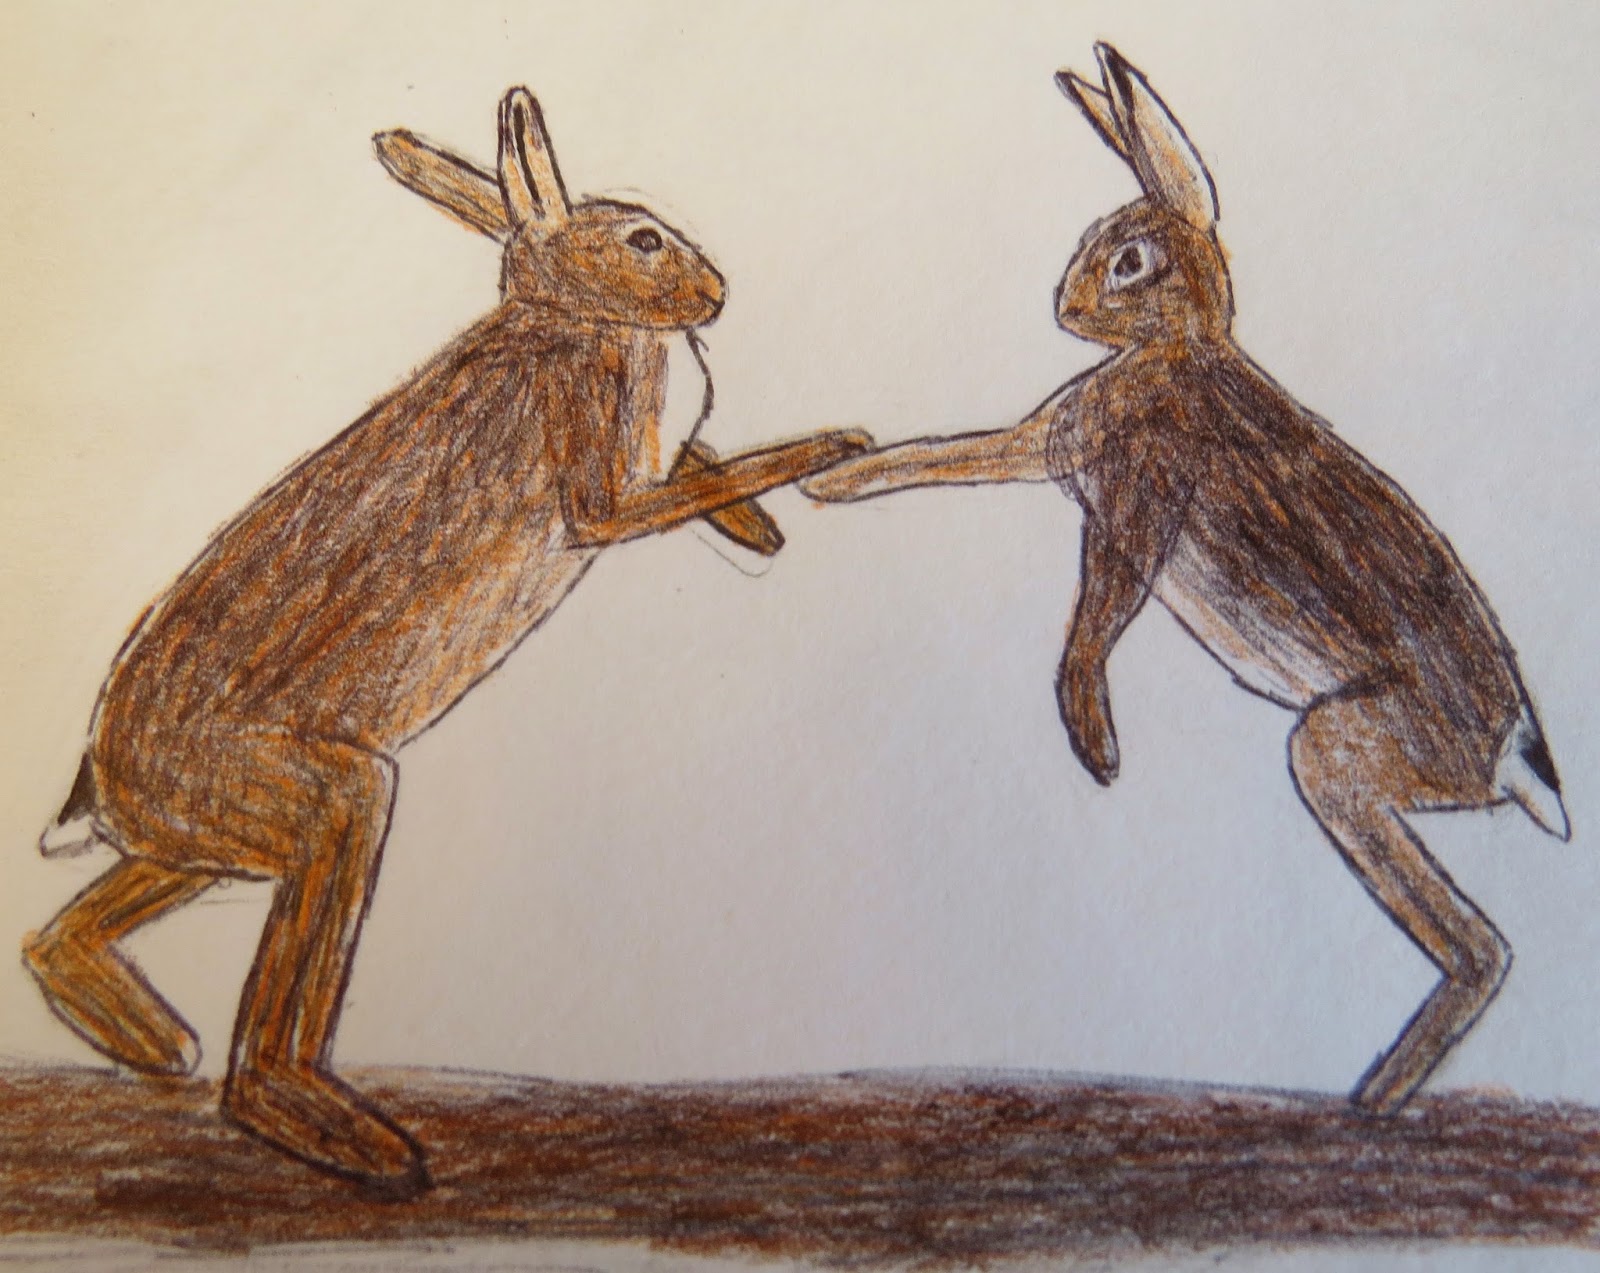 |
| Boxing Hares |
This time, I decided to use an orange undercoat before adding browns and greys. As always, I keep an eye on where the lighter areas need to be and shade in darker areas more.
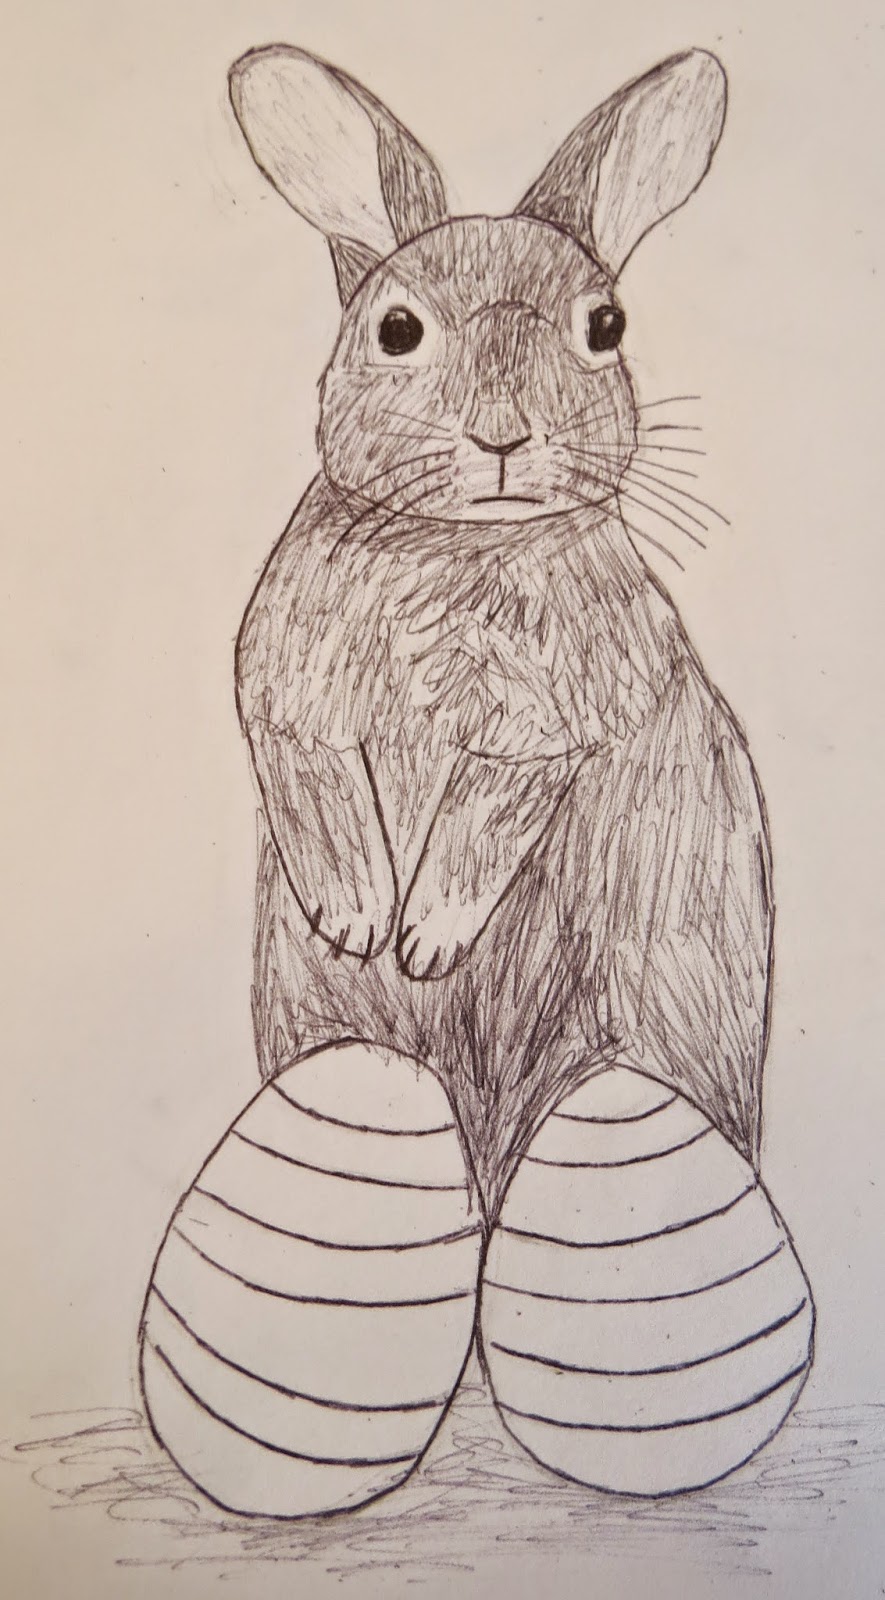
It wouldn't be an Easter special without drawing the Easter Bunny now, would it? So for my final sketch, I'm drawing a rabbit on it's hind legs with two Easter eggs. I have already got onto the basic detail stage of the drawing. The shapes needed to get up to this stage is an upright oval for the body, a circle for the head, two rabbit ears and two egg shapes. I have added triangles on the ears to make them look concaved or funnel shaped and I have drawn two front legs. A tip I used for faces (of any kind) is to draw a cross down the middle and with this cross you can work out where to place each feature.
I work on the detail a bit more with a lot of scribbling to get the various areas of dense fur. The body and head shape gets adjusted slightly and the eggs are given a striped pattern. The face's features are simple lines or heavy shading.
My fur technique comes to play as I use my pen to define each part of the rabbits body. I also add whiskers to my bunny. Just draw a series of dots around both sides of the snout and make heavy single lines of various sizes coming out of them. I shade lightly under the eggs for a shadow and to show that it is solid ground.
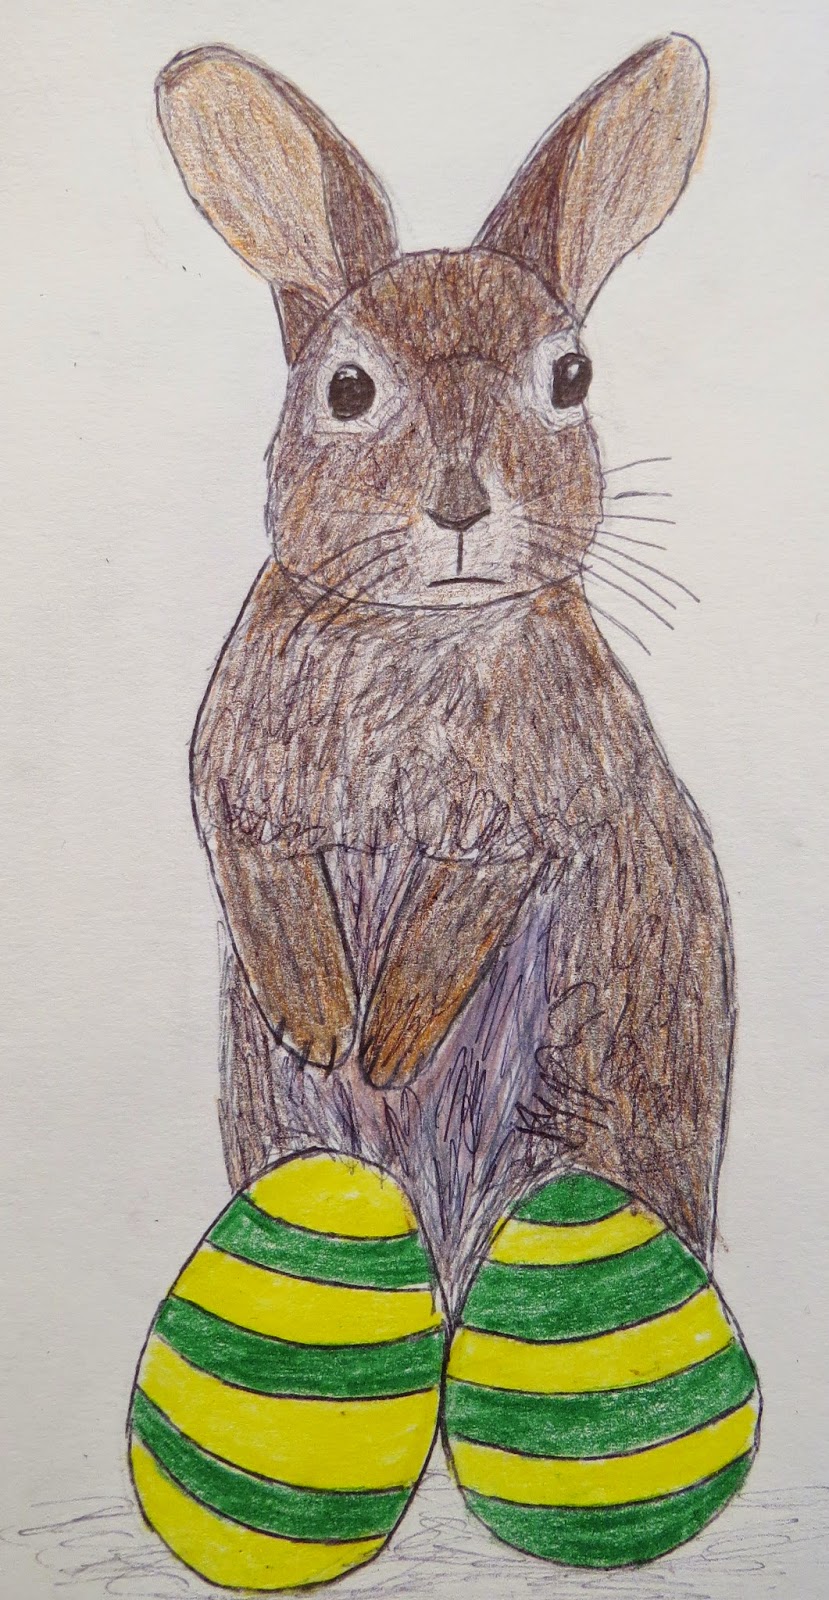
Using the colour scheme used from my previous rabbit sketch, I colour the bunny in with brown, grey and orange. I coloured the eggs in too (yellow and green as they are spring colours not just because they are Norwich City colours in case you are wondering). My Easter Bunny is complete, ready to deliver Easter eggs to the children. Happy Easter everyone and good luck with your drawings.


No comments:
Post a Comment